There where multiple effects that we used on Premiere to achieve the way the video looked. We wanted the video to have a different look to it. To achieve this we filmed in two different locations and mixed the shots in. The cuts between locations where subtle and worked well so although there is an obvious jump it makes sense. To achieve this we often cut on the beat of the song. We made sure the effect we used were to improve the quality of the video so we often added effects to
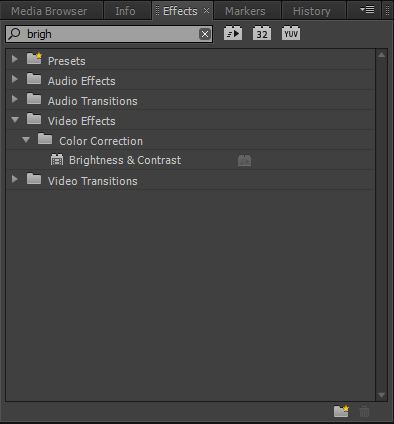
The first effect that we used was adding brightness to all of the outside shots. The reason for this is that some of the outside shots were darker than we planned. To fix this we played around with the brightness settings. We had to be careful doing this because there was a fine line between the lighting looking real and artificial.

From the image above you can see how different the brightness made shots look. What was good is that Premiere allows you to finely adjust the brightness so that you can never make the light look artificial.
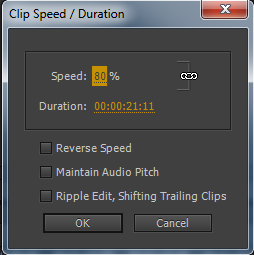
The next effect we used was the speed and duration tool. The reason we used this was because there were moments throughout our live performance were the lighting was really nice and we wanted to have more focus on the lights. Because we wanted to make the lights last longer we slowed them down so that they lasted long enough. But we made sure the slow mo wasn't noticeable.

The main effect in our video was the mirror effect towards the end of the video. There were many layers to achieving this effect. The first was layering two identical videos on top of each other.
Once i had done this I horizontally flipped one of the layers. This meant when i went to crop them later it would create the mirror effect.
Finally i had to crop both layers by 50%. This would mean that the videos would be cut perfectly in half. Because the horizontal flip when the videos are put together it created the mirror effect.
The above picture shows exactly what effects were added to the layers. The image below shows the effect it created. Because the clips are identical they play at the exact same time thus creating the mirror effect.
Finally to touch shots up at the end of the final edit we used a tool called three way color corrector as you can see displayed below. This allowed us to slightly enhance some of the colors in the video. We specifically focused on the red in the live performance as it would make Sam shirt stand out among the lights. This makes the final edit more chrisp which is why we wanted to add it at the end. Without this some shots would look bland and boring and that is not what we wanted.


